Adobe Photoshop CS6 Shortcuts Cheat Sheet
Adobe Photoshop is probably my most used software program on my computer. I use it for work, for...
Read MoreAdobe Photoshop is probably my most used software program on my computer. I use it for work, for...
Read More
Your domain name is the online version of you, and whether you’re looking to establish an...
Read More
My must-have Android apps for social media content reading, curation and sharing.
Read More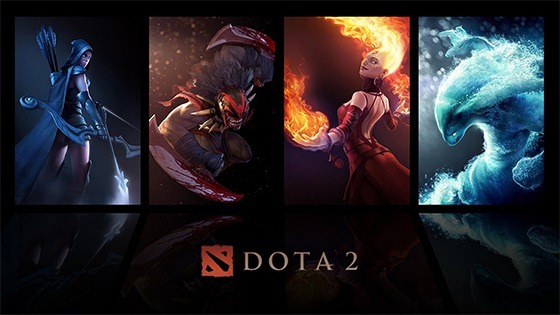
BlankPixels is giving away 20 FREE Dota 2 beta keys!
Read More
5 Black Friday tips for gadget and electronics shopping.
Read More
Guide and tips on how to use Facebook scheduling for your Facebook pages.
Read More
With the continuous growth of the number of company websites (and blogs) out there that talk about...
Read MoreTechnology is the backbone of the internet. One would not exist without the other, but technology is not something that everyone understands. It can be confusing especially when it comes to web hosting. Figuring out which web...
Read More
Sharing with you some food photography tips I have learned over the last few months while taking photos for our food blog Certified Foodies.
Read More
Facebook now allows you to edit your comments – a great feature for grammar nazis!
Read More
Vanity URL for Facebook pages, Interests, Hover Cards and Notification / Admin bar for pages – a few of the updates this June.
Read More
I know most of my Facebook friends are not aware of this yet – Facebook changed the default...
Read More